Automated power measurements with Otii and Raspberry Pi
Power measurements in functional testing run on Raspberry Pi
Reliable testing is essential for ensuring embedded devices perform as intended — from smart homes to industrial systems. The Raspberry Pi offers a low-cost, portable, and flexible solution for automating functional tests, both in the lab and in the field. With its GPIO interfaces, broad software support, and active community, it can be an ideal tool for efficient, repeatable embedded and IoT device validation.
The Otii software adds support for automated functional testing with Raspberry Pi, making it easier to integrate comprehensive testing into your development workflow.
Note that the Otii release for Raspberry Pi includes only Otii TCP server, not the Otii Desktop application.
Products needed
Get started
Set up a Raspberry Pi 4 or 5 as a test machine to run automated benchmark testing with the Otii Product Suite:
- Set up a Raspberry Pi.
- Wire up the entire system, including your device under test (DUT)
- Download and install the Otii server within the Raspberry Pi.
- Run the scripts and start automating your recordings.
Installation guide
Requirements for the setup and the step-by-step installation can be found in the Documents.
 Otii server will run on a Raspberry Pi 4/5 with less than 8 GB RAM, but it is not recommended.Running the system on an SD card will degrade performance, and the memory card will likely quickly wear out. Use the USB SSD disk instead, as recommended.Otii 3 Server is a 64-bit application. Therefore, the 64-bit version of the Raspberry Pi OS is a must.
Installing Raspberry Pi OS on the SSD Disk
To set up your Raspberry Pi with an SSD, start by plugging the SSD disk into your computer via USB. Download, install, and run Raspberry Pi Imager. Within the Imager, select your device as Raspberry Pi 4 or 5, choose Raspberry Pi OS (64-bit) as the operating system, and assign the storage to the SSD disk. Once everything is selected, click “NEXT” and in the next window, click “EDIT SETTINGS” under “Use OS customization.”
In the GENERAL tab, configure the hostname, username, password, SSID, network password, Wireless LAN country, time zone, and keyboard layout. In the SERVICE tab, enable SSH and select “Use password authentication.” Save your changes, and when prompted, click “YES” to apply the custom settings.
A warning will appear to confirm that you want to proceed, as it will overwrite existing data on the disk. Confirm by clicking “YES” and entering your computer password. The system will then download the OS and write it to the SSD disk, a process that will take a few minutes. Once completed, you will see a message indicating that the disk can be removed.
Finally, connect the SSD to the Raspberry Pi, turn it on, wait a few seconds, and then access it via SSH.
Wiring up
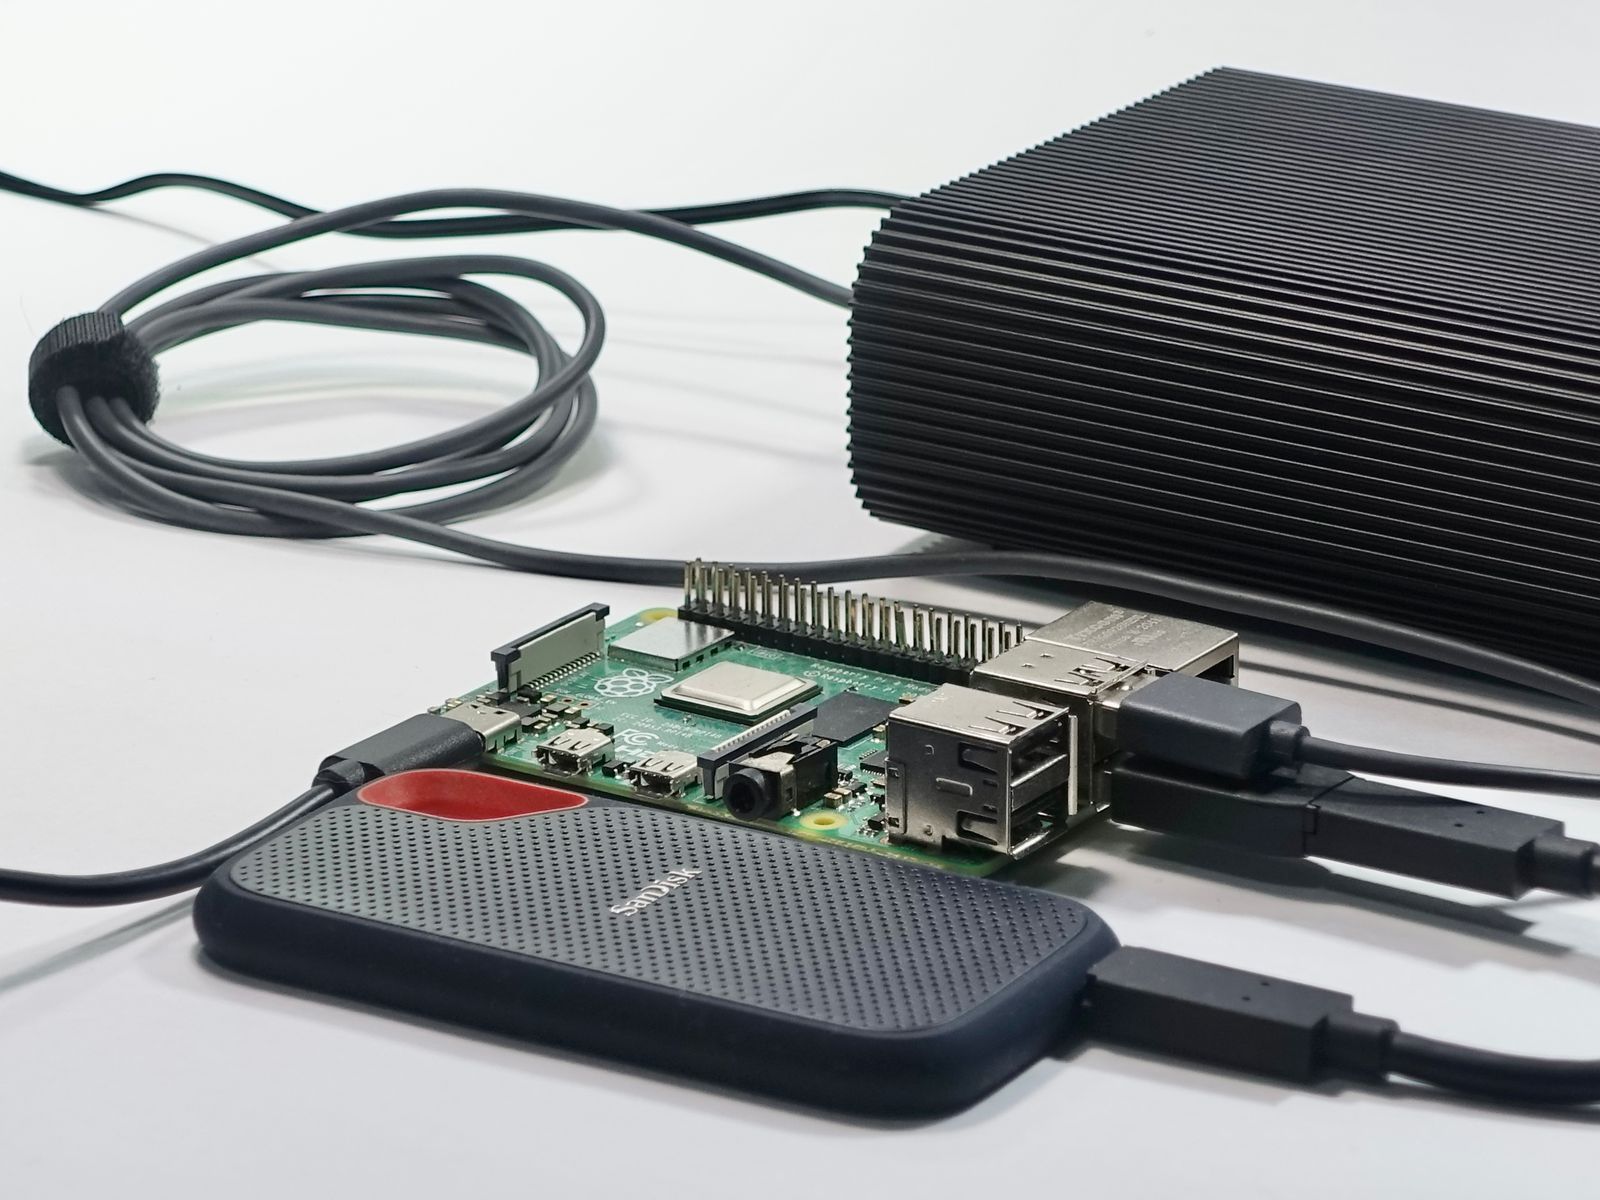
To wire up the system, first ensure you have all the necessary hardware components on hand. Begin by connecting the SSD disk to the bottom USB 3 port of the Raspberry Pi, without powering it up. Next, using the USB cable provided in the Otii hardware box, connect the USB output to the Otii hardware box and the USB Type A output to the top USB 3 port of the Raspberry Pi.
Power the Otii hardware with an external DC power supply, ensuring it meets the required specifications; once powered, the LED on the front of the Otii hardware should light up. Then, supply power to the Raspberry Pi via its USB-C power supply port, ensuring the power parameters are optimal: 5V and at least 3A (5A for Raspberry Pi 5).
Once the system is connected, it should look like this:
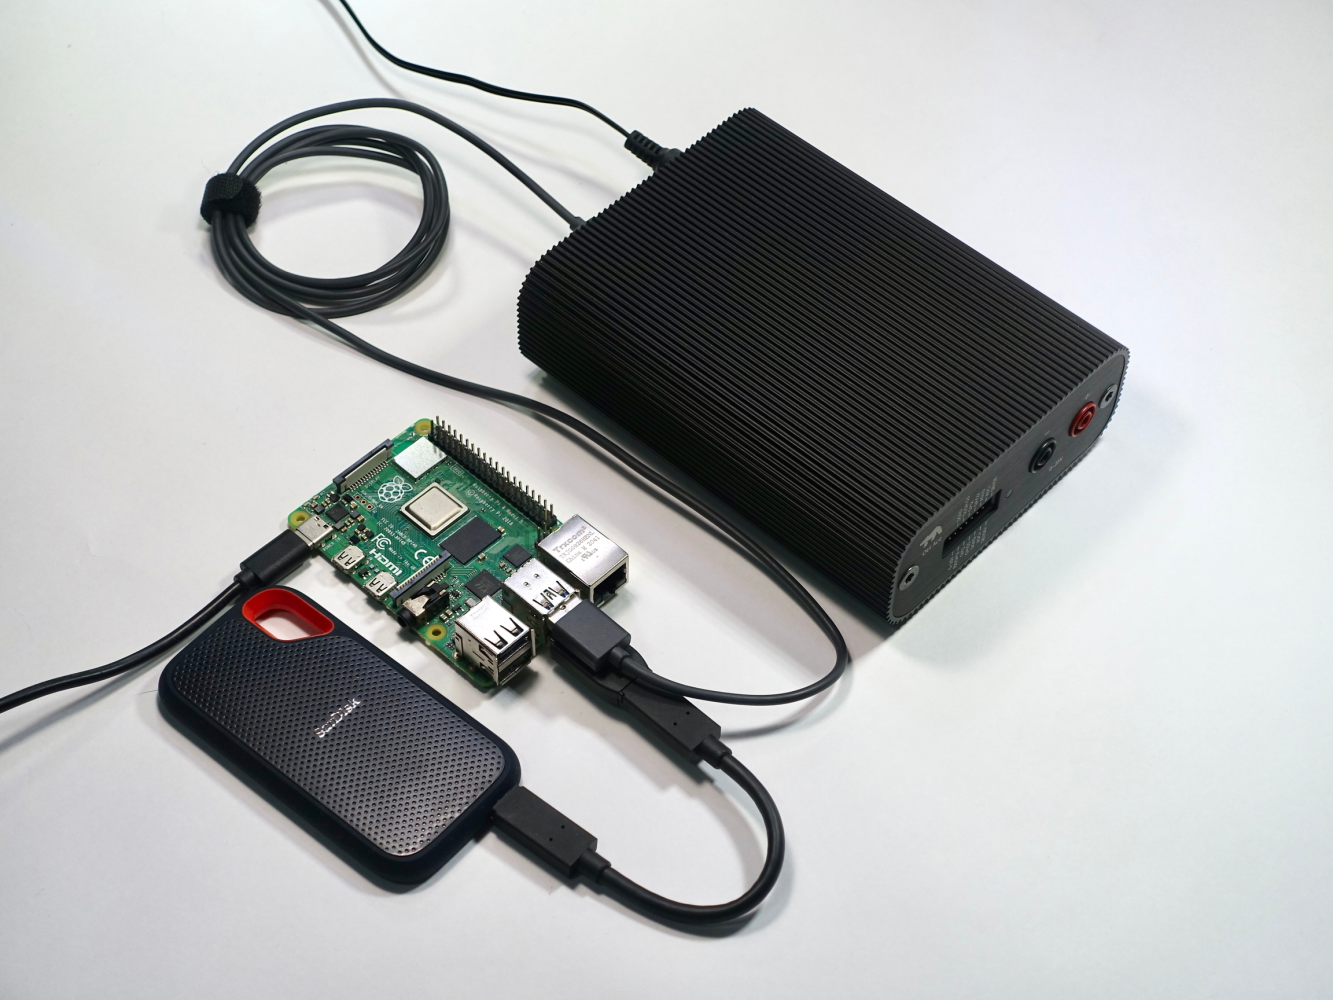
Finally, connect the Device Under Test (DUT) to the system, configuring it to work with UART configuration to allow debugging of incoming messages and enabling automation of processes based on these messages.
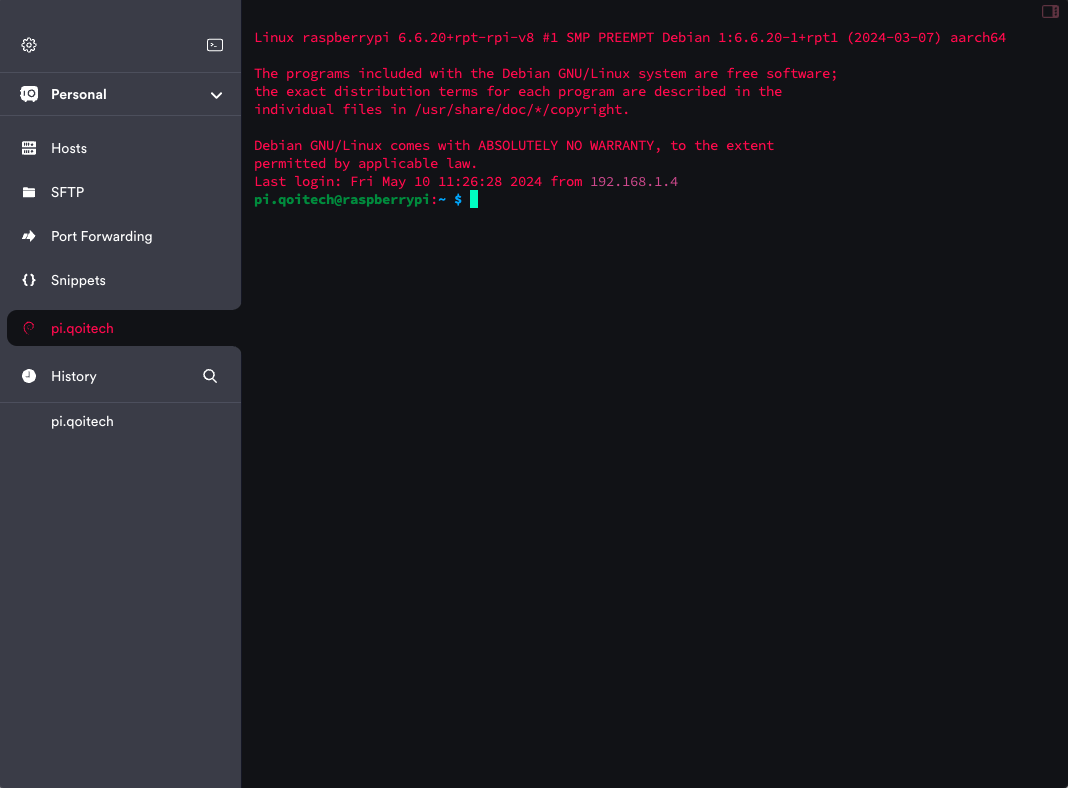
Access Raspberry Pi using SSH
To access your Raspberry Pi via SSH after powering it up, first ensure you have an SSH client like Putty or Termius installed. If not, download, install, and open your preferred SSH client. In the connection configuration, set the hostname to the one assigned in Raspberry Pi Imager (e.g., raspberry.local) or use the IP address of the Raspberry Pi. To find the IP address, you can use network scanning tools like Fing. Set the port to 22 and the connection type to SSH.
After configuring these settings, follow the specific steps for your SSH client to establish the connection. Once connected, enter the previously assigned username and password (e.g., pi.qoitech). You should now be interacting directly with the Raspberry Pi.
Installing Otii Server
To set up automated testing with the Otii Product Suite, start by enabling the Otii server, which supports scripting in popular languages like Python and Java. First, visit the Qoitech User Management portal and log into your account. If you don’t have an account, create one by clicking “Create an account” and verify it through the associated email.
Once logged in, navigate to the Download page within the portal. Accept the EULA terms by checking the box, then select the Raspberry Pi version of the Otii server to download.
Next, transfer the downloaded .deb file to your Raspberry Pi. You can do this in one of two ways:
- Direct Download: If you have access to the Raspberry Pi interface, use the browser on the Raspberry Pi to navigate the User Management portal and download the file directly.
- Using SCP: Alternatively, use the scp command to copy the file from your computer to the Raspberry Pi. Run the following command in your terminal, replacing the placeholders with your specific details:
scp <Path to File> <username>@<IP Address of Raspberry Pi>:<Destination Path>For example:
scp Downloads/otii_server_3.4.3_arm64.deb pi.qoitech@192.168.1.64:/home/pi.qoitech/DownloadsOnce the file is transferred, access the Raspberry Pi remotely via SSH, navigate to the directory where the .deb package was copied or downloaded:
cd DownloadsThen, install the Otii server with the following command:
sudo dpkg -i otii_server_3.x.x_arm64.debAfter installation, you can start scalable, low-power functional testing for IoT and embedded systems using the Otii Product Suite.
Running Otii Server
To set up and interact with the Otii server using SSH, you need to establish two SSH connections. One connection will be used to run the Otii server, while the other will be for user management and scripting. Note that the Otii server can also be activated directly from scripting if needed.
- First SSH Connection: Run the Otii server by entering the following command. Keep this connection running in the background:
otii_server- Second SSH Connection: In the second connection, install the Otii TCP client for Python.
python3 -m pip install otii_tcp_clientOnce set up, you can manage and script the Otii server using Python or other scripting languages. For detailed instructions, refer to the Automation Toolbox documentation.
Running Python script
To run a Python example on your Raspberry Pi that demonstrates how to make your first measurement using the Otii TCP Client, follow these steps:
- Create a Python File: On your Raspberry Pi, use the nano command to create a new Python file named test_raspberrypi.py:
nano test_raspberrypi.py- Paste the Python Code: Copy and paste the Python code below into the test_raspberrypi.py file. This script connects to the Otii server, logs in, reserves a license, performs a simple measurement, shows the result and then returns the license before logging out.
#!/usr/bin/env python3
import time
from otii_tcp_client import otii_client

RECORDING_DURATION = 20

def test(otii):
    devices = otii.get_devices()
    if len(devices) == 0:
        raise Exception('No device connected!')

    device = devices[0]
    device.set_main_voltage(4.2)
    device.set_max_current(0.8)
    device.enable_channel("mc", True)

    project = otii.get_active_project()

    project.start_recording()
    otii.set_all_main(True)
    time.sleep(RECORDING_DURATION)
    otii.set_all_main(False)
    project.stop_recording()

    recording = project.get_last_recording()
    assert recording is not None

    info = recording.get_channel_info(device.id, "mc")
    print(f'From:        {info["from"]} s')
    print(f'To:          {info["to"]} s')
    print(f'Offset:      {info["offset"]} s')
    print(f'Sample rate: {info["sample_rate"]}')

    statistics = recording.get_channel_statistics(device.id, "mc", info['from'], info['to'])
    print(f'Min:         {statistics["min"]:.5} A')
    print(f'Max:         {statistics["max"]:.5} A')
    print(f'Average:     {statistics["average"]:.5} A')
    print(f'Energy:      {statistics["energy"]:.5} Wh')

def main():
    client = otii_client.OtiiClient()
    with client.connect() as otii:
        test(otii)

if __name__ == '__main__':
main()- Create a Credentials File: In the same directory as your script, create a JSON file named credentials.json. This file should contain your Qoitech User Management account username and password. The content of the file should look like this:
{
    "username": "YOUR USERNAME",
    "password": "YOUR PASSWORD",
}
Replace "YOUR USERNAME" and "YOUR PASSWORD" with your actual credentials.
- Run the Python Script: Execute the test_raspberrypi.py script by running the following command in your terminal:
python3 test_raspberrypi.py- Review the Output: Upon running the script, the system will display information and statistics about the measurement:
From:        0 s
To:          20.019 s
Offset:      0 s
Sample rate: 50000
Min:         -0.0058117 A
Max:         0.52232 A
Average:     0.0037786 A
Energy: 0.31778 Wh- Explore Further: After completing this example, you can explore more functionalities of the Otii TCP Client by creating custom Python scripts to automate tests during your hardware development cycles. Refer to Qoitech’s GitHub for ready-to-use examples and further details on using TCP clients for Python or C#.
Conclusion
Functional testing is not just a box to be checked—it’s a critical step in ensuring that hardware products perform as intended, focusing on the user interface, APIs, databases, security, and other functionalities. For embedded and IoT devices, this means ensuring sensors read data accurately, actuators respond correctly, and communication protocols work as expected. As well as, the actual power consumption measurements to understand how changes affect device efficiency.
If you want to learn more about energy optimization and automation, check out Qoitech docs or the Qoitech YouTube channel.