Projects
Otii 3 Desktop App works on a project basis, which can be saved and later opened again.
An Otii project contains all the settings of the device under test (DUT) used, plus all measured measurement recordings of the multiple channels available for current, voltage, and power data.
Project storage
Otii 3 creates a lot of sample data when doing lengthy recordings.
This makes it important to choose the right storage location for your projects:
- Only store the project on a fast locally connected drive.
- When creating a new project, it is recommended to save it before starting a lengthy recording. This is because an unsaved new project is stored in the temporary directory of the OS.
- Do not store the project in a folder that is synced to a cloud service like OneDrive, Dropbox or Google Drive. On many installations the Documents and Desktop folders are cloud synced.
- Do not store the project on a network connected drive (NAS).
The size of the data for a one channel in one recording is:
4 bytes * sample_rate * no_of_seconds
The default sample rate of the Otii Arc is 4 ksps, and for the Otii Ace 50 ksps.
If you have an Otii Ace you can change the sample rate down to 1 ksps.
Create a new project
When opening the Otii 3 Desktop App, users can create a new project or choose to do so while working on an existing one.
Create a new project when starting the Otii 3 Desktop App
- Open Otii 3 Desktop App.
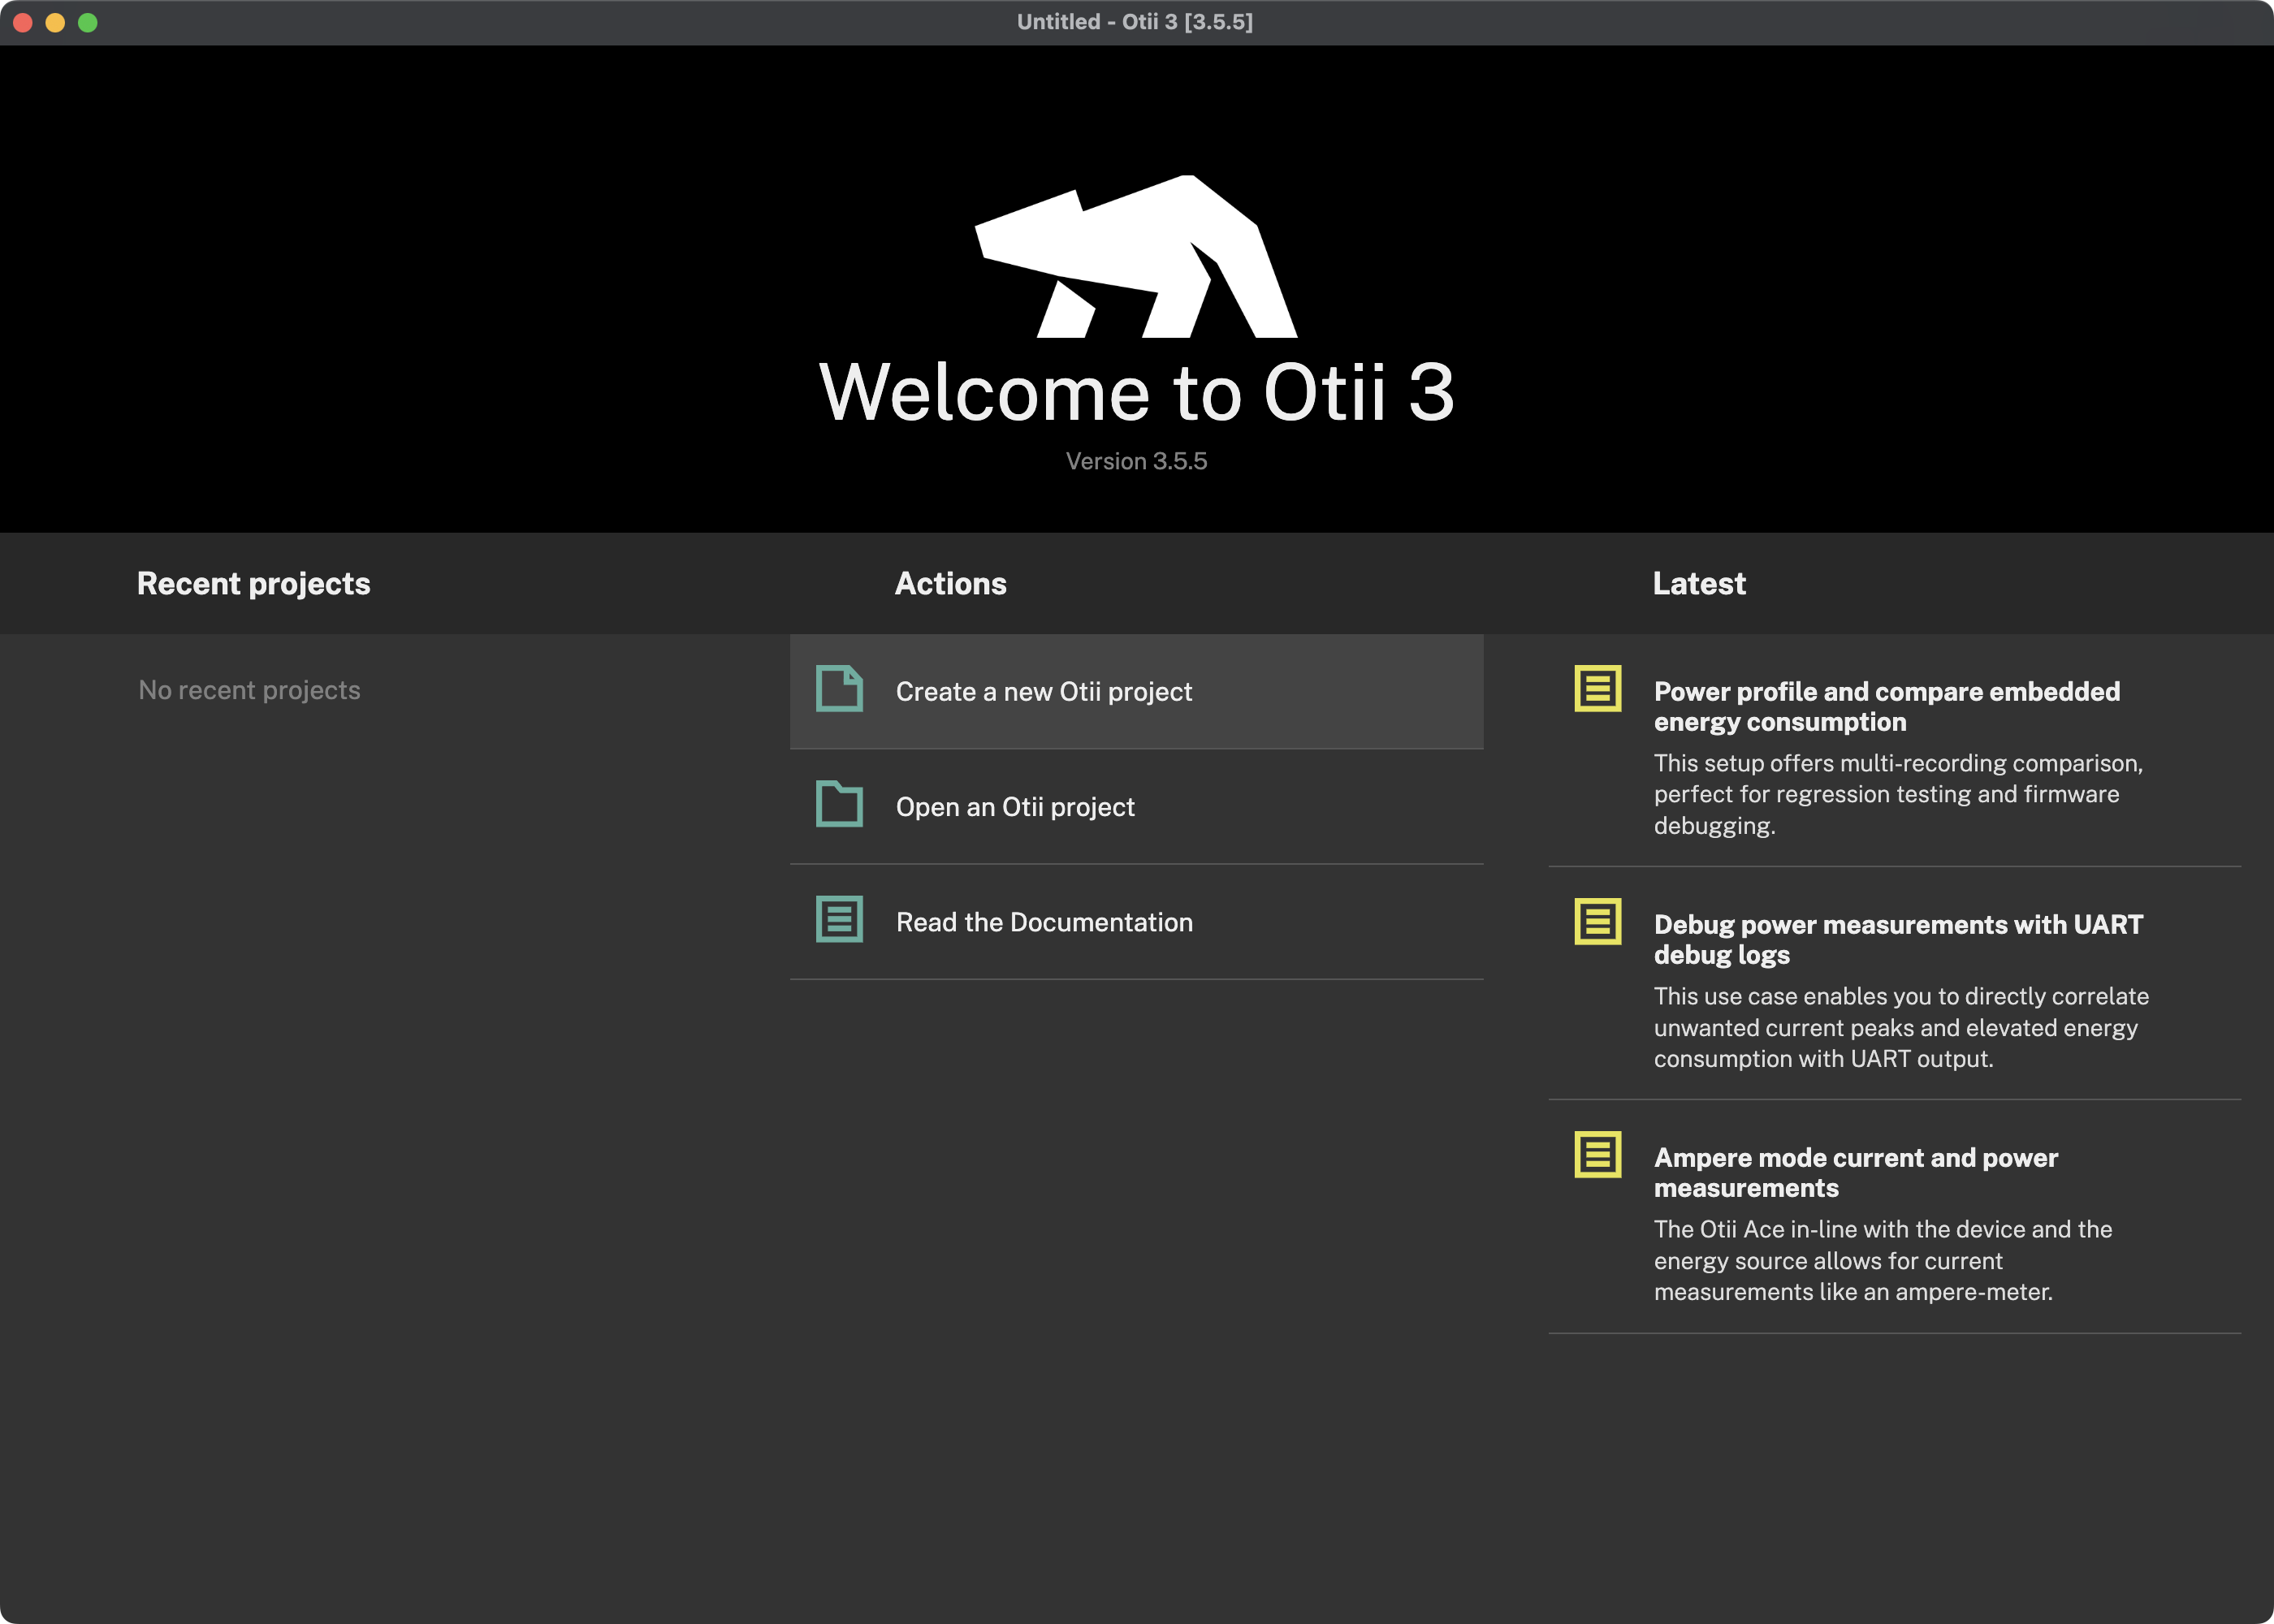
- On the welcome window, below the Actions section, click Create a new Otii project.
Create a new project while working on a project
- Navigate to:
- Windows & Ubuntu: File > New, or by pressing
Ctrl-N - MacOS: File > New, or by pressing
⌘-N
- Windows & Ubuntu: File > New, or by pressing
Save project
Users can save Otii projects in a desired folder and/or export them as a zip archive.
Save .otii3 projects
Projects in Otii3 can be saved with “Save” or “Save as”. When the “Save” option is selected for the first time in a new project, it will function as “Save as,” allowing the project to be saved in the desired location and with the assigned name. Later, the “Save” option will only update the project files previously saved.
Save projects using "Save"
- Navigate to:
- Windows & Ubuntu: File > Save, or by pressing
Ctrl-S - macOS: File > Save, or by pressing
⌘-S
- Windows & Ubuntu: File > Save, or by pressing
- Set a name for the Otii project, and click Save
Save projects using "Save as"
- Navigate to:
- Windows & Ubuntu: File > Save as..., or by pressing
Shift-Ctrl-S - macOS: File > Save, or by pressing Shift-⌘-S.
- Windows & Ubuntu: File > Save as..., or by pressing
- Set a name for the Otii project, choose the folder to save the project, and click Save
Export a project as a zip
Sharing Otii projects is easy by exporting them as a zip file, which can be directly opened in the Otii 3 Desktop App, whether or not the user owns an Otii Arc Pro or Otii Ace Pro.
- Navigate to:
- Windows & Ubuntu: File > Export project..., or by pressing
Ctrl-E - macOS: File > Export project..., or by pressing
⌘-E
- Windows & Ubuntu: File > Export project..., or by pressing
- Set a name for the Otii project, choose the folder to save the project, and click Save
 Note that the selected folder cannot be the same folder as the project is in.
Open project
Otii 3 Desktop App allows users to open a saved project either when opening the application or while working on a project. These projects may be located in a folder or a .zip file previously saved or exported.
When the Otii project is opened, it contains all previous settings such as battery emulator, profiler, analytics configurations, and measurement recordings. This enables users to perform new measurements within the same project.
Open a saved project when starting the Otii 3 Desktop App
- Open Otii 3 Desktop App
- On the welcome window, below the Actions section, click Open an Otii project
- Locate the Otii project file and open it
Open a saved project while working on a project
- Navigate to:
- Windows & Ubuntu: File > Open, or by pressing
Ctrl-O - macOS: File > Open, or by pressing
⌘-O
- Windows & Ubuntu: File > Open, or by pressing
- Locate the Otii project file and open it.
Import an Otii 2.0 project
If you have been using the Otii Product Suite for some time, you may be familiar with Otii 2. We highly recommend that you download the latest version of the Otii 3 Desktop App to take advantage of its improved features and extended capabilities for testing.An Otii 2 project can be imported within the Otii 3 Desktop App. Just be aware that once the project is saved in Otii 3 version, it is not possible to open the saved project again in Otii 2.
Open an Otii 2 project when starting the Otii 3 Desktop App
- Open Otii 3 Desktop App
- On the welcome window, below the Actions section, click Open an Otii project
- Locate the Otii 2 project file and open it.
Open an Otii 2 project while working on a project
- Navigate to:
- Windows & Ubuntu: File > Open, or by pressing
Ctrl-O - macOS: File > Open, or by pressing
⌘-O
- Windows & Ubuntu: File > Open, or by pressing
- Locate the Otii 2 project file and open it.
Export recordings as CSV
Exporting recordings in CSV format broadens compatibility with third-party data analysis tools when making a more precise analysis of the collected recordings. A practical alternative to generate graphs for dedicated reports or analyze data further.
Export measurement recordings in CSV
- Open Otii 3 Desktop App
- Create a new Otii project or open a previously saved project. In case of creating a new project, at least one recording must be recorded to be exported
- In the left sidebar, navigate to the RECORDINGS section, right-click on the desired recording, and select the Export to CSV... option
- Assign the desired name for the file, and click Save